When a well used space feels dark, cramped, and outdated, there are only so many times that you can say "I like it, it's cute!" before you get fed up and rip into it. At the end of last summer, despite the unrelenting heat and humidity, we finally said good-bye to the floral wrapped first floor bath and transformed the space into this:

The before pictures were taken in haste, as the urge to get going on this project was strong, and there was only so much time before the kids would be back. However, it's helpful to see from where we've come:


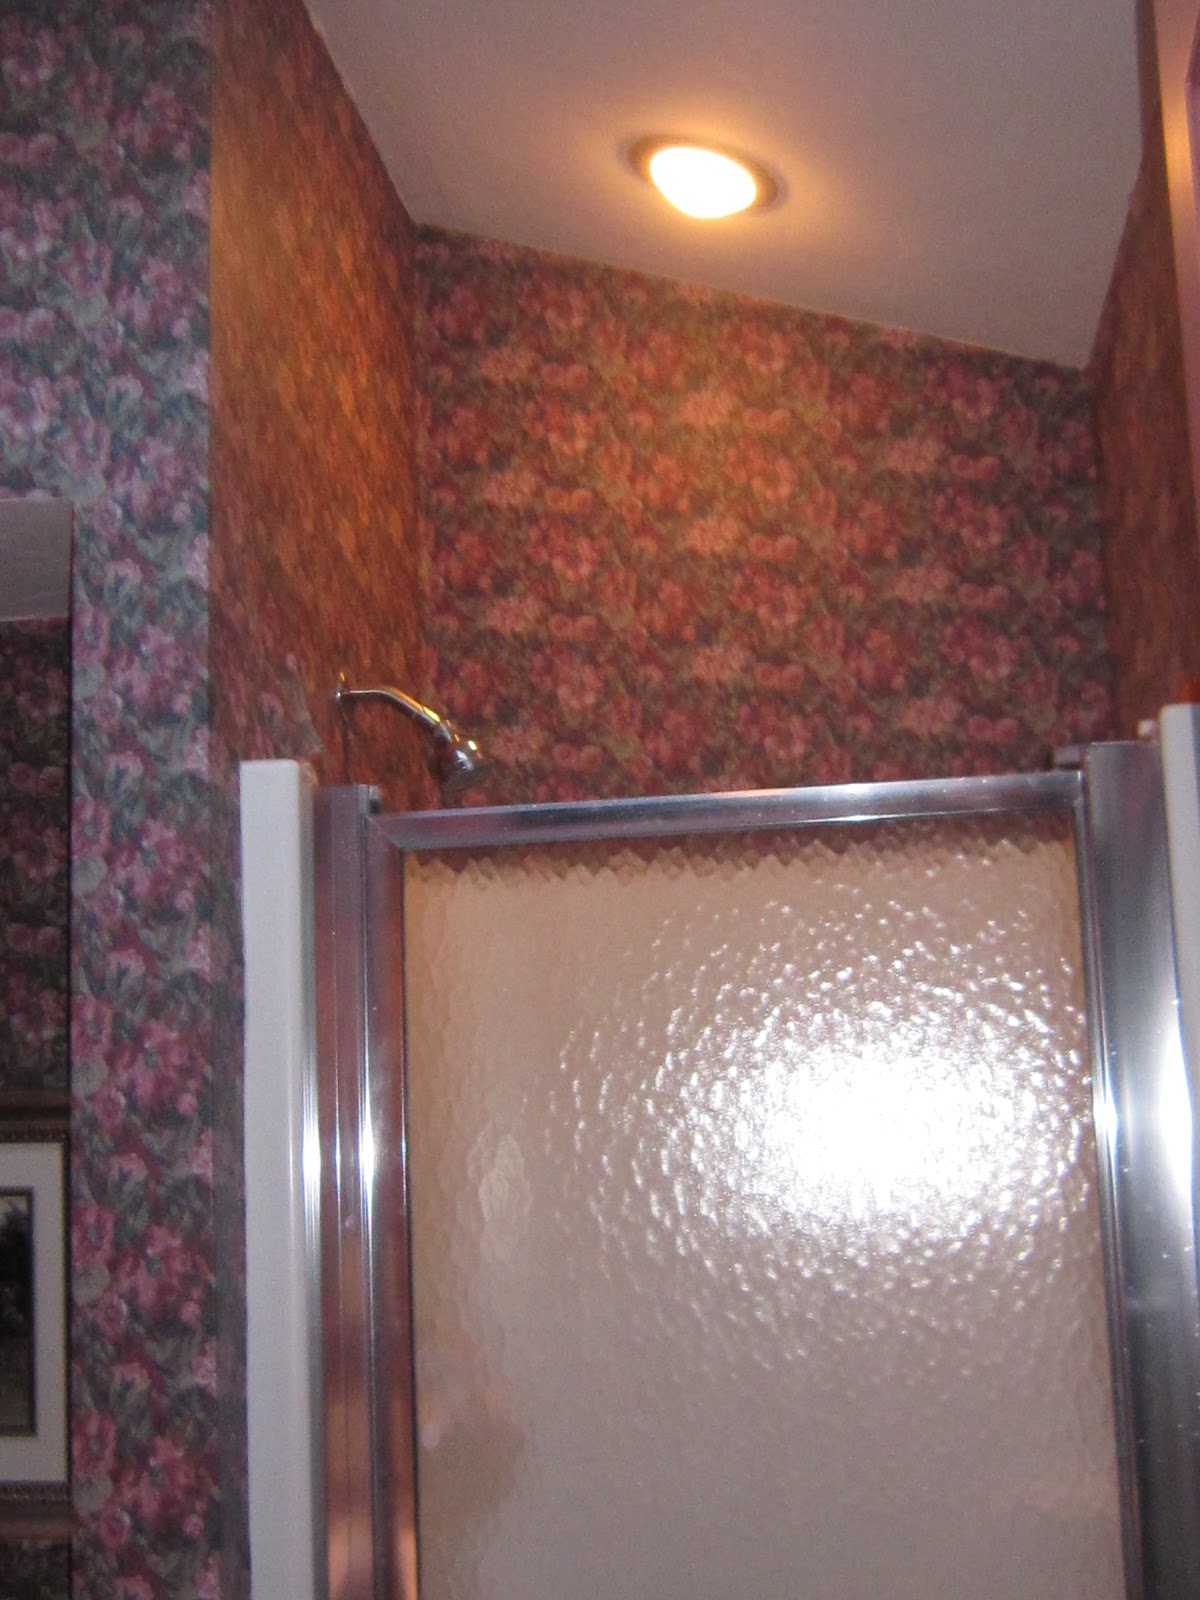
Initially, I found the floral patterned walls to be soothing and
classic, but I'm pretty sure that I was just trying to convince myself to not have do the dirty work of taking it down. The old window pane mirror had a certain charm. Come to find out, it was severely limiting the visual space and stealing an opportunity to expand the light within the room. What would
one do to compliment a pink tile floor? I certainly wasn't up to tearing it out. And how could we make that tiny
shower seem spacious (without blowing out a wall)?
First of all, the paper removal was not easy. We had tried the vinegar and water trick, scraping, and swearing methods without much success. Finally, we busted out the old wallpaper steamer and that eventually did the trick. Next, we (meaning "not me") bleached the walls and ceiling to removal any traces of mold that had built up under the old paper so that we could start fresh, and a mildew resistant primer was put up to prevent any trouble in the future. This was not a one day project for sure, but we divided and conquered as best as we could. Trust me, there was plenty of mauve colored woodwork to freshen up with bright white paint while all that messiness was getting done. The prep work is definitely the hardest part, and it's tough to keep the energy flowing. Once we found the paint color that we wanted and got to see it up on the walls, it gave us some renewed strength to press on.

I have always loved the look of pink and green together, so the floor problem was solved once we found Benjamin Moore's "Tea Light". It added a soothing brightness without becoming too much of a chilly sherbert color. I had considered going with shades of brown, cream or tangerine, but I think we made the right decision.
The mirror was a steal! I found this a T.J.Maxx sitting vertically in the rack. Turned on it's side, it fit perfectly in the space to join the vanity and the loo, while reflecting the sunshine from the sky light above.

The shower size wasn't going to be changed any time soon. We had no intentions of busting down walls, although it crossed our minds and was quickly slipped into the "crazy thoughts to be discussed later" parts of our brains. Instead, we switched out the shower head to give the shower a larger, rainfall effect, thereby making the shower "feel" bigger, when you close your eyes;)


The bathroom vent is not a pretty picture. I looked into getting a fancier panel to replace it, but they were pricey, so I kept thinking and looking around.
 The clearance rack at T.J.X was where I struck gold. For under $10, I found this wooden panel in a scuffed up condition. Once home, I gave it some elbow grease and voila!
 Under the sink is the only storage spot in this room, and it was seriously lacking organization.


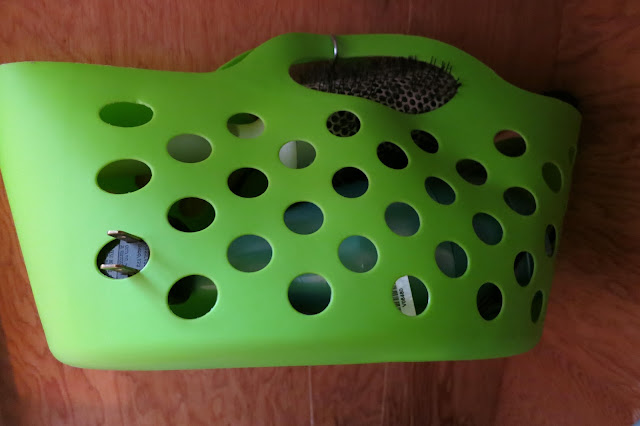
The first step was to sort and find some storage. The dollar store was a great place to find a few baskets and bins. I came up with this handled plastic basket to store and hang my blow dryer, curling iron, and a brush. When I get kicked out, I can bring this wherever I need to go to get ready.
 Things were getting better, and I could say that everything was starting to have it's place. But visually there was still something missing. When no one was looking, I climbed into that cabinet and created a backsplash with some simple pattered contact paper ($1!), and it made all the difference!
 I'm so glad to have this room crossed off the to-do list, and I think the new look leaves the old bathroom green with envy:
To see more awesome before and after projects and posts, see where I've linked on the following sites:


|
| Before |
|
| After |
What a amazing transformation! I can't believe how much bigger the space looks without the busy wall paper. Great job! Please share this on my linky party http://suburbsmama.blogspot.com/2013/03/sunday-linky-party-1.html
ReplyDeleteThank you! It was a fun project to look back on, and I'm happy to be able to share. I don't miss the wall paper one bit!
DeleteI bet you don't miss that wall paper. Wall paper is scary. I had to remove the wall paper borders from my house when I moved in, and I though that was bad. LOL.
DeleteThanks for linking up :) Hope you have a great day.
wow I love it!!
ReplyDeleteThanks, Liz!
ReplyDeleteyour blog name (and description) is hiLARious! and creative. and yikes, that was some before bathroom. enjoy your new space.
ReplyDeleteThank you! Enjoy your cape!
Delete